Bottom-Watering Houseplants: The Simple Trick That Cuts Down on Gnats and Overwatering
Tired of soggy soil, fungus gnats, and guessing when to water? Bottom-watering helps roots drink what they need—without soaking the surface.
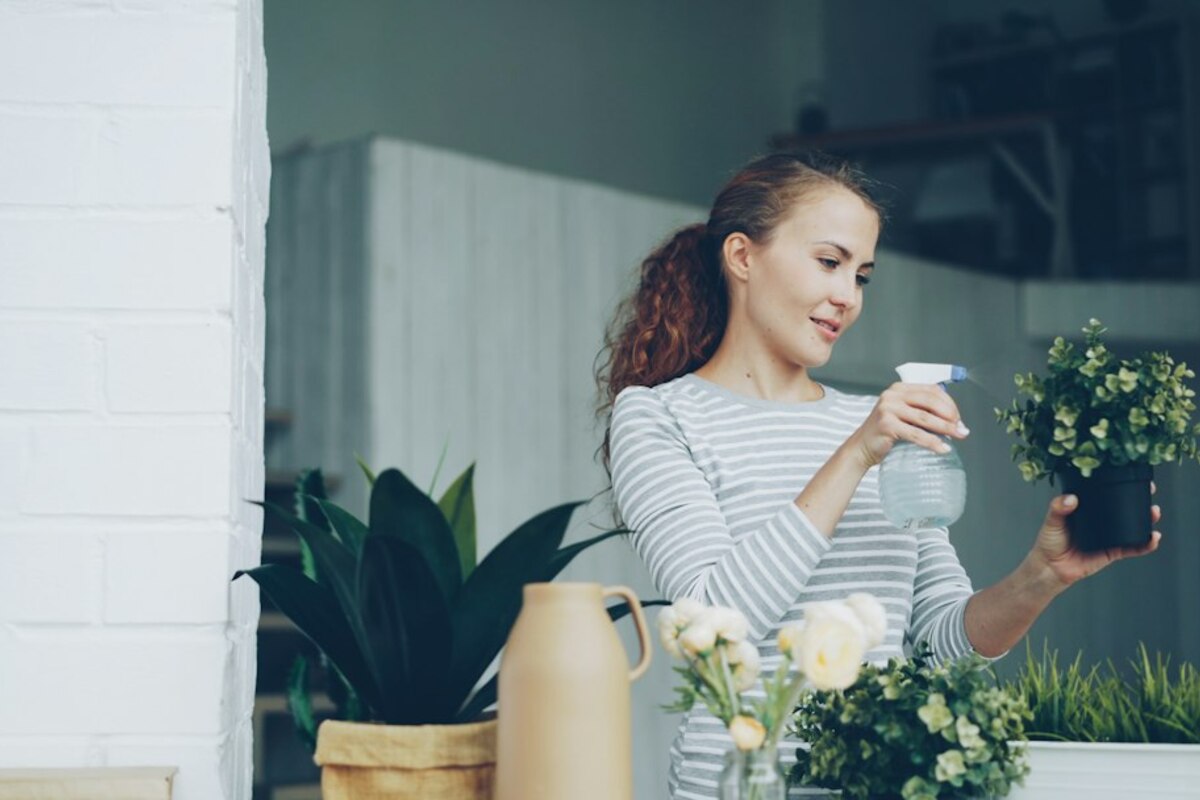
- Bottom-watering lets plants take up moisture from below, reducing overwatering and messy runoff.
- Keeping the soil surface drier can help discourage fungus gnats and moldy topsoil.
- A few minutes with a tray and a simple routine can make watering more consistent and less stressful.
What “bottom-watering” actually means (and why people are talking about it)
Bottom-watering is exactly what it sounds like: instead of pouring water on top of the soil, you place the pot in a shallow tray or sink filled with water and let the plant drink from the bottom through the drainage holes.
If you’ve ever watched a paper towel “crawl” a spilled drink across the counter, you’ve seen the same idea at work. Soil pulls water upward through tiny spaces between particles. That gentle upward movement is why bottom-watering can feel calmer and more controlled than top-watering—especially in apartments, offices, or anywhere you’re juggling plants around electronics, rugs, and limited time.
This method has been popping up in everyday plant conversations for a few reasons: more people are keeping houseplants in small spaces, fungus gnats have become a common complaint, and many of us are using decorative pots and saucers where runoff is a constant nuisance.
Here’s a quick real-life scenario: you water your pothos from the top, the water rushes down the sides of the pot, and half of it streams straight into the saucer. The top inch looks soaked, but the middle stays dry. Two days later, the plant droops, so you water again, and now the bottom is waterlogged. Bottom-watering flips that pattern by soaking the root zone more evenly.

The benefits (and the trade-offs) in plain language
Bottom-watering isn’t a magic hack, but it can solve a handful of common houseplant frustrations. Think of it like switching from “splash and guess” to “sip and check.”
1) More even moisture, fewer extremes
When you water from the top, dry potting mix can repel water and send it straight down in channels, leaving pockets of dryness. Bottom-watering gives the mix time to rehydrate gradually. Many people notice fewer cycles of “bone dry” to “sopping wet.”
2) A drier soil surface can mean fewer fungus gnats
Fungus gnats love consistently damp topsoil where they can lay eggs. Bottom-watering tends to keep the upper layer drier (not always bone-dry, but less wet than constant top-watering). That can make the surface less inviting. It won’t erase gnats if you already have an infestation—think of it as removing one of their favorite conditions.
3) Less mess in living spaces
No splashing soil onto leaves. No muddy top layer. Less “oops, the saucer overflowed.” In homes with light wood floors, carpets, or shared office desks, that alone can be a big win.
4) A built-in check: the “lift test”
Bottom-watering often goes hand-in-hand with a simple habit: pick up the pot before and after. You’ll feel the weight difference right away. That’s one of the easiest ways for non-experts to learn watering timing without gadgets.
Trade-offs to know upfront
- It takes a little more time. You’re waiting 10–30 minutes rather than watering and walking away.
- It can leave mineral salts behind. When water evaporates from the potting mix, dissolved minerals can accumulate over time. Occasional top-watering (a “flush”) helps.
- Not every plant loves it. Some prefer to dry quickly or don’t like consistently moist lower soil. The potting mix and the plant type matter.
Bottom-watering is best viewed as a tool you can use often—not an unbreakable rule.
Root rot comes from roots sitting in stale, oxygen-poor conditions for too long—usually because the potting mix stays wet and the pot can’t drain properly. Bottom-watering can be safe if you let the plant soak, then drain completely, and you don’t water again until the mix has dried to the plant’s preference.
Root rot comes from roots sitting in stale, oxygen-poor conditions for too long—usually because the potting mix stays wet and the pot can’t drain properly. Bottom-watering can be safe if you let the plant soak, then drain completely, and you don’t water again until the mix has dried to the plant’s preference.
No—bigger pots can be bottom-watered too, but you may need a larger basin (bathtub, storage bin, deep tray). For very large planters, some people combine methods: occasional deep top-watering to flush, and bottom-watering when it’s convenient.
No—bigger pots can be bottom-watered too, but you may need a larger basin (bathtub, storage bin, deep tray). For very large planters, some people combine methods: occasional deep top-watering to flush, and bottom-watering when it’s convenient.
It’s risky. Drainage holes are what make bottom-watering predictable: the plant can wick water up, and you can remove it to drain. If the pot has no hole, you can’t control the moisture level as well, and water can pool at the bottom.
It’s risky. Drainage holes are what make bottom-watering predictable: the plant can wick water up, and you can remove it to drain. If the pot has no hole, you can’t control the moisture level as well, and water can pool at the bottom.
How to bottom-water step by step (with timing, cues, and common mistakes)
You don’t need special equipment. A tray, baking dish, roasting pan, or clean sink works fine. The goal is to let the soil drink upward, then remove the plant before it sits too long.
What you need
- A pot with drainage holes (nursery pot inside a decorative cachepot is perfect)
- A tray/basin/sink
- Water (room temperature is a safe default)
Step-by-step routine
- Pre-check the pot weight. Lift it. If it’s heavy, you may not need to water yet.
- Add water to the tray. Aim for roughly 1–3 cm (about 1/2–1 inch) for small to medium pots. For very dry soil, you can start shallow and add more if it disappears quickly.
- Set the pot in the water. If the pot floats, the mix is extremely dry and airy—hold it down gently for a moment until it settles.
- Wait 10–30 minutes. This range covers most houseplants. Small pots often finish sooner; bigger ones take longer.
- Look for clues. The top of the soil may darken slightly, or you may feel moisture when you touch the surface. Not all mixes show obvious color change, so weight is often the best indicator.
- Remove and drain thoroughly. Let it drip for a minute or two. Then place it back in its saucer/cachepot.
A simple timing guide (use as a starting point, not a rule)
| Pot size | Typical soak time | Best cue to stop |
|---|---|---|
| 5–10 cm (2–4 in) | 5–15 minutes | Pot feels noticeably heavier; top layer slightly cool/darker |
| 12–18 cm (5–7 in) | 10–25 minutes | Even weight gain; moisture detectable near the surface |
| 20–30 cm (8–12 in) | 20–45 minutes | Soil no longer “drinks” quickly; pot is uniformly heavy |
Common mistakes (and how to avoid them)
- Leaving the pot in water for hours. Bottom-watering is a soak-and-drain process, not storage. Set a timer if you’re likely to forget.
- Using a hydrophobic (water-repellent) mix and giving up too fast. If the mix is extremely dry, it may take longer to start wicking. Try a second shorter soak later the same day, or top-water lightly once to “prime” it.
- Never flushing from the top. If you always bottom-water, salts from fertilizer and minerals can build up. Every month or two, do one thorough top-water until water runs out the bottom, then drain well.
- Assuming every droop means thirst. Droop can also mean too much water. Bottom-watering can still overwater if you do it too frequently.
Which plants tend to like it? Many common houseplants do well with bottom-watering: pothos, philodendrons, spider plants, peace lilies (when allowed to dry appropriately), and many African violets (which also dislike water on their leaves). Plants that prefer drying out strongly between waterings—like many succulents and cacti—can still be bottom-watered, but only when the mix is truly dry, and for a shorter soak.
Making it fit real life
If you have several plants, you can turn bottom-watering into a low-stress routine: line up pots in the bathtub or a big storage bin, add a shallow layer of water, set a timer, then let them drip on a towel. It’s the plant-care equivalent of meal prep: a small block of time that reduces daily hassle.
A quick “gnat-aware” add-on: If fungus gnats are part of your reason for trying bottom-watering, pair it with letting the top inch of soil dry out between waterings. Bottom-watering helps, but the drying cycle is what really makes the surface less appealing.