That Musty Smell in the Bathroom? Clean the Fan Before You Blame the Mold
A noisy, weak bathroom fan can trap humidity and odors. Here’s how to check, clean, and improve it in under an hour.
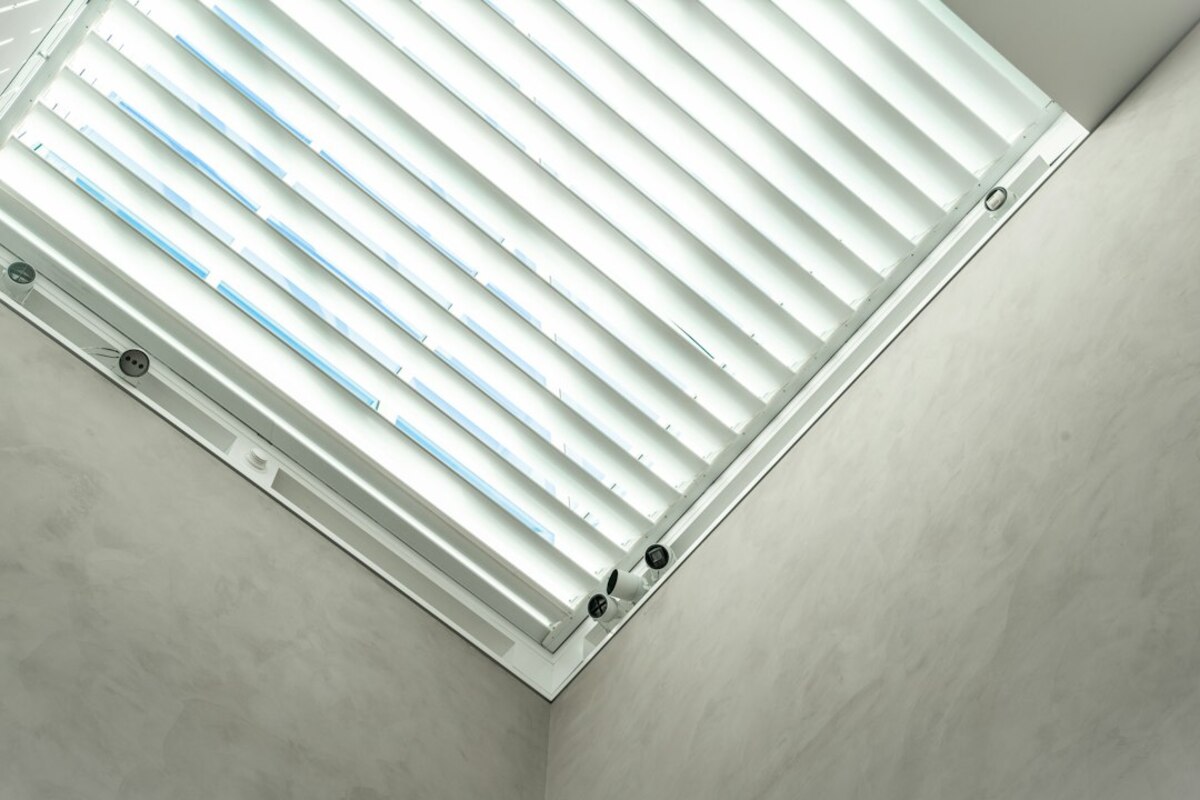
- A dusty bathroom fan can quietly fail, leaving humidity to linger and odors to hang around
- Cleaning the grille and housing improves airflow, reduces noise, and helps prevent moisture problems
- Simple checks (tissue test, run-time habits, door gaps) often solve “mystery” bathroom dampness
The hidden reason your bathroom stays damp
Most bathrooms have two “modes”: looks dry and actually dry. The mirror might clear, the floor might feel fine, and yet the air still holds onto moisture. That lingering humidity is what leads to the familiar chain of annoyances: a musty smell that returns after cleaning, peeling paint at the ceiling edges, swollen cabinet doors, and grout that seems to darken no matter how often you scrub.
The bathroom exhaust fan is supposed to be the bouncer at the door—pushing steamy air out and pulling fresh air in. But in real homes, that bouncer often gets tired. The most common reason isn’t “the fan is broken.” It’s simpler: the fan is choked with dust, and airflow drops little by little until you stop noticing—except for the dampness.
Here’s a typical scenario: you take a hot shower, turn the fan on, and it sounds like it’s working. But the fan is like a vacuum with a clogged filter: it can still make noise while moving very little air. Meanwhile, moisture settles into paint, drywall, towels, and that tiny gap behind the toilet you never want to think about again.
If you’ve been treating a musty bathroom smell like a cleaning problem, this is good news. Cleaning products fight the symptom. Restoring airflow addresses the cause.

A quick “is it even working?” test (no tools)
Before you take anything apart, it helps to confirm whether airflow is the issue. You’re not aiming for laboratory precision—just a “yes, this fan is pulling” or “no, it’s mostly pretending.” Try one or two of these checks:
- Tissue test: Turn the fan on and hold a single sheet of toilet paper or tissue up to the grille. A healthy fan should hold it up. If it barely flutters or falls, airflow is weak.
- Steam hang time: After a shower, leave the door closed and fan running. If the mirror and corners stay foggy for a long time (think: 20+ minutes), the fan may be underperforming.
- Odor linger test: If normal bathroom odors stick around even with the fan on, it’s often airflow, not cleanliness.
One more “gotcha” that surprises people: a fan can’t exhaust properly if it can’t pull replacement air into the room. If your bathroom door seals tightly against thick rugs or weatherstripping, the fan may struggle. Ideally there’s a small gap under the door (or another path for air) so the fan can create steady flow.
| What you notice | Most likely cause | Simple first move |
|---|---|---|
| Fan is loud or rattly | Dust buildup, loose grille, worn motor/bearing | Clean grille + housing; check for a loose spring clip |
| Fan runs but tissue won’t stick | Blocked grille/housing, dirty blower wheel, duct restriction | Clean fan interior; inspect visible duct connection |
| Musty smell keeps returning | Humidity lingering, poor ventilation habits | Run fan longer; keep door cracked after shower |
| Paint peels near ceiling or corners | Chronic moisture, weak exhaust | Restore airflow; extend run time; check damper flap |
Clean your bathroom fan in under an hour (step-by-step)
This is one of those maintenance tasks that feels “optional” until you do it once and realize how much dust a fan can hold. Plan for 30–60 minutes. If you haven’t cleaned it in years, it may be a little gross—think of it like cleaning a lint trap that’s been ignored.
What you’ll need: a step stool, a screwdriver (sometimes), a vacuum with a hose/brush attachment, mild dish soap, a microfiber cloth or old rag, and optionally a can of compressed air. A headlamp or phone flashlight helps.
- 1) Turn power off (recommended). You can usually do this at the wall switch if you’re careful not to touch wiring, but safest is flipping the bathroom circuit breaker. At minimum, make sure the fan is off.
- 2) Remove the grille. Most fan grilles pull down about an inch, then you squeeze two spring clips inward to release it. If it seems stuck, pull gently at opposite sides instead of yanking one corner.
- 3) Wash the grille. Soak it in warm water with a little dish soap. If it’s yellowed or sticky, let it sit while you work on the fan. Rinse and dry thoroughly.
- 4) Vacuum the loose dust. With the grille off, vacuum around the fan housing opening. You’re trying to remove the “lint layer” so it doesn’t rain down on you later.
- 5) Clean the fan housing interior. Use the vacuum brush to gently clean what you can reach. Then wipe with a slightly damp cloth. Avoid soaking anything—think “dusting with a damp cloth,” not “mopping.”
- 6) If accessible, clean the blower wheel. Some fans let you unplug and remove the motor/blower assembly with a couple screws. If yours is easy to remove, this is where the big airflow gains happen: the blower wheel can get caked like a fuzzy donut. If it looks complicated or wiring is short, stop at careful vacuuming/wiping in place.
- 7) Check the damper flap (if you can see it). Many fans have a small plastic/metal flap that opens when the fan runs and closes when off. If it’s stuck shut (paint, dust, misalignment), airflow will be poor. It should swing freely.
- 8) Reinstall the grille and restore power. Make sure it sits flat to the ceiling. A tilted grille can rattle and also suggests the springs aren’t seated properly.
Real-life payoff: People often report two immediate changes: the fan sounds “smoother,” and the tissue test suddenly works. That’s not magic—it’s what happens when air can move again.
If you want to go one step further (still simple): Set a timer habit. Many bathrooms stay humid because the fan gets turned off the moment the shower ends. A useful rule of thumb is run the fan during the shower and for 15–30 minutes after. If you’re forgetful, a wall switch timer is a small upgrade that makes a big difference.
Sometimes “louder” is actually more air moving, which can create a stronger whoosh. But if it’s a harsh rattle or buzz, the grille may not be clipped in evenly, or dust removal revealed a worn bearing. Re-seat the grille first; if noise persists, the motor may be nearing end of life.
Sometimes “louder” is actually more air moving, which can create a stronger whoosh. But if it’s a harsh rattle or buzz, the grille may not be clipped in evenly, or dust removal revealed a worn bearing. Re-seat the grille first; if noise persists, the motor may be nearing end of life.
Common culprits are a stuck damper flap, a crushed or overly long duct run, or poor “makeup air” (the bathroom is too sealed for air to enter under the door). Try cracking the door open slightly and repeating the test. If airflow improves, the fan may be fine—the room just needs an air path.
Common culprits are a stuck damper flap, a crushed or overly long duct run, or poor “makeup air” (the bathroom is too sealed for air to enter under the door). Try cracking the door open slightly and repeating the test. If airflow improves, the fan may be fine—the room just needs an air path.
No. A musty smell can also come from damp towels, a leaky toilet base, a slow plumbing leak under the sink, or mildew in caulk. But weak ventilation is a frequent multiplier: it turns small, normal moisture into a persistent problem. Cleaning the fan is a low-effort first step before deeper detective work.
No. A musty smell can also come from damp towels, a leaky toilet base, a slow plumbing leak under the sink, or mildew in caulk. But weak ventilation is a frequent multiplier: it turns small, normal moisture into a persistent problem. Cleaning the fan is a low-effort first step before deeper detective work.
If you’re curious, do a quick experiment: clean the fan, then run it for 20 minutes after a shower with the door slightly cracked. Notice whether the mirror clears faster and whether that “bathroom smell” fades more completely. It’s one of the rare maintenance chores where the results can be felt within a day.